

How To Clean An Oven Door In Between The Glass
Does your oven have spills inside the front door, between the glass? It seems like there's no way to get in there to clean it, but I found a way!
Today might not be one of my most artistic and creative posts, but since I'm getting my house ready to sell, you guys will have to bear with me as I drag you through some home maintenance with me.
The good news is if you have a Maytag oven (or similar glass front oven) you can benefit from my messes.

Disclaimer: Since posting this hack, I've had a few people chastise me in the comments section for doing it wrong. I NEVER want to lead you guys astray, and just because it worked for me may not mean it will work for everyone.
So read on, and if you try this at home, just be sure not to force anything. And for a little chuckle at my expense, as well as some good advice, read the comments for what other people (probably smarter than me) think. Finally, just remember… glass is breakable.
Cleaning Inside your Maytag Oven Door
Some time in the past (I'm ashamed to say how long, so let's pretend it was last week), something I was cooking on the stove boiled over and spilled, not just down the front of my oven door, but actually inside the vents and between the glass. No amount of that oven cleaning itself was going to get that mess out.
Plus, when the sun streamed through the kitchen during the day, it highlighted all the dust that had also accumulated (last week) inside the glass. Something had to be done before showing off my almost spotless kitchen to prospective buyers.
But when I searched online, I couldn't find any tutorials that talked about how to take apart my particular type of oven, nor was there anything in the Maytag manual. (Maybe they don't want you doing this yourself, but that never stopped me before.)
So I figured it out myself, and it was so surprisingly easy I had to share it with you.
(Forgive me for not having any "before" pictures and believe me when I say it was bad. I was just on such a tear to get that thing pulled apart that I only started taking pictures once I realized that I should preserve the process for posterity.)
Removing the Glass Door:
Apparently some oven doors come in two parts. This one is actually all one part (more or less), with a large sheet of glass on the front that's held on by a ledge running along the bottom, and the frame of the door on top.
When I started unscrewing screws, I got several removed before I realized I didn't need most of them. So I put them all back in and got on with the actual productive part. Here it is in three easy steps.
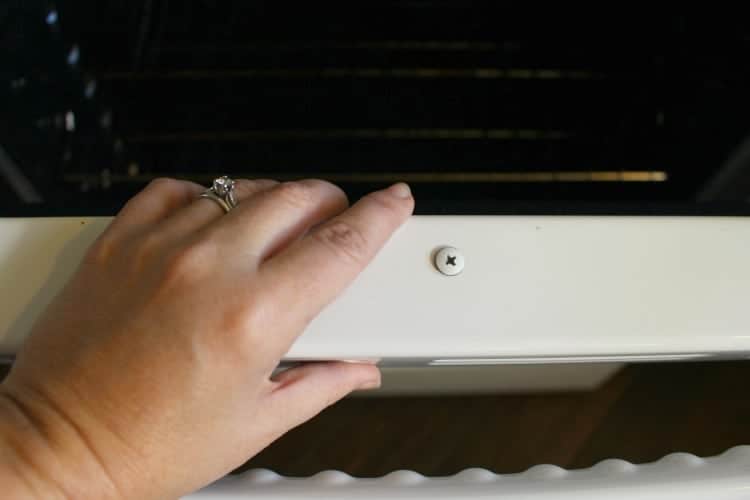
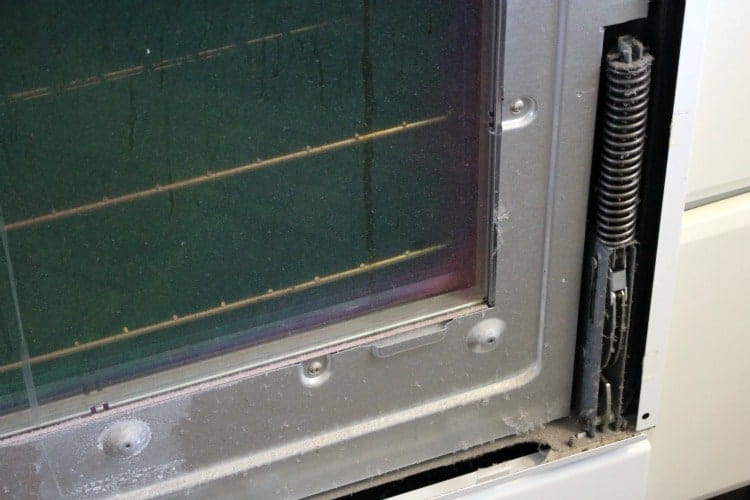
1. Open the oven door slightly, to the point where it naturally rests open a few inches. Remove the three screws from the top of the door and set them aside.
2. Slightly lift the top frame section of the door. It won't come off, but it will rock up a little bit, just enough so it's not holding the glass from the top.
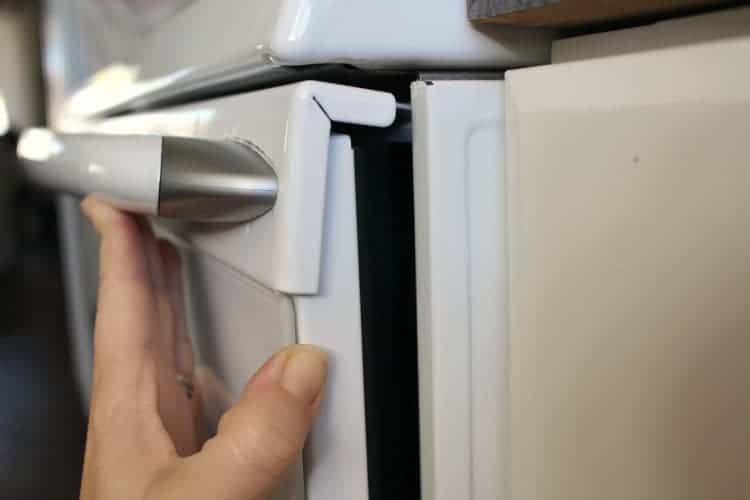
(At this point I felt like I was doing it wrong and was about to break something, so I went back to unscrewing things which didn't help at all. In the end I realized the top only needed to rock back about a quarter of an inch to clear the glass and allow it to swing out.)
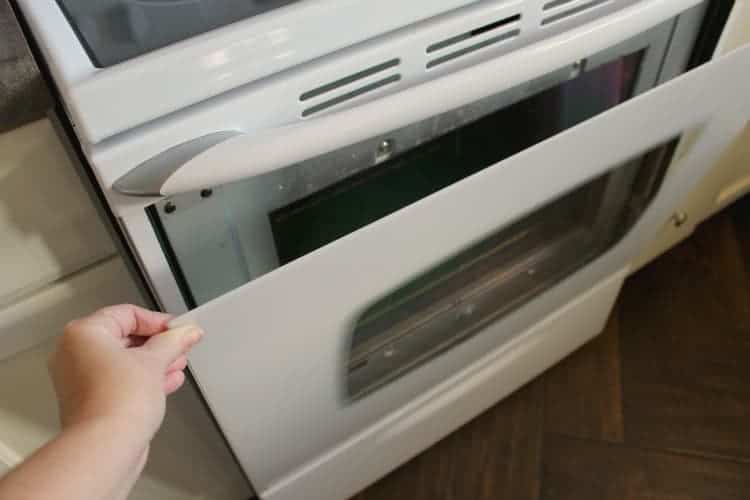
3. Gently grasp the glass on each side and pull up from the bottom ledge. The glass may be difficult to remove because it has a few little adhesive pads along the sides. Just work it gently out and set it aside on a blanket or the carpet.
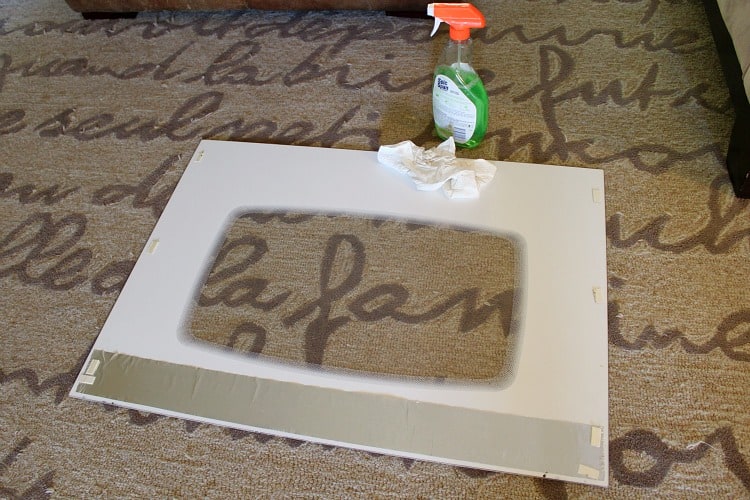
Whew! That wasn't so bad. Now all you have to do is take a little glass cleaner to the inside of the glass. (I used Spic and Span first to degrease, then finished with glass cleaner to clear off all the streaks.)
Then do the front of the door that's still attached to the oven. I also dusted all around the inside of the door. There was a lot of gunk built up in the springs and along the bottom ledge, but that came right off with a paper towel and some Spic and Span.

While you're cleaning the door, make sure you watch out for exposed screws. Those suckers are sharp!
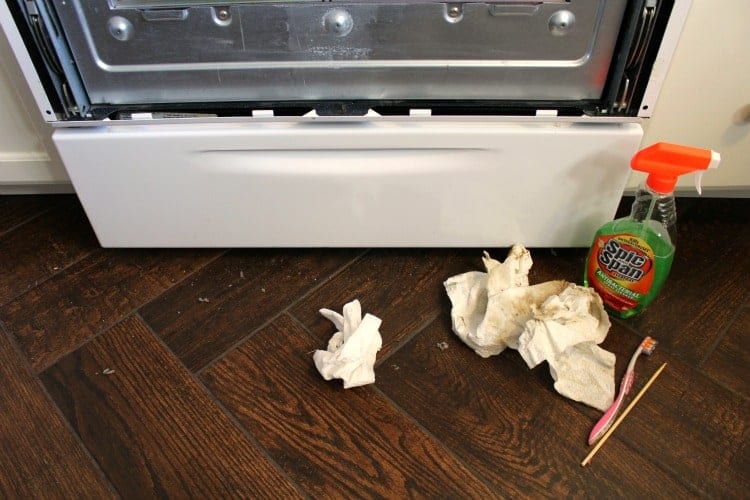
The dust and grime is gone, thanks to several paper towels, a tooth brush, and a chopstick for those hard-to-reach spots.
Replacing the Glass Door:
- Once you've cleaned both the inside of the door, and the inside of the glass front, you can gently set the glass back in the bottom ledge, center it, and lay it flat against the door.
- Lift up the top edge of the door again, tilt the glass in, and let the top clamp down over the glass.
- Replace the three screws and screw them in nice and tight, and you're done!
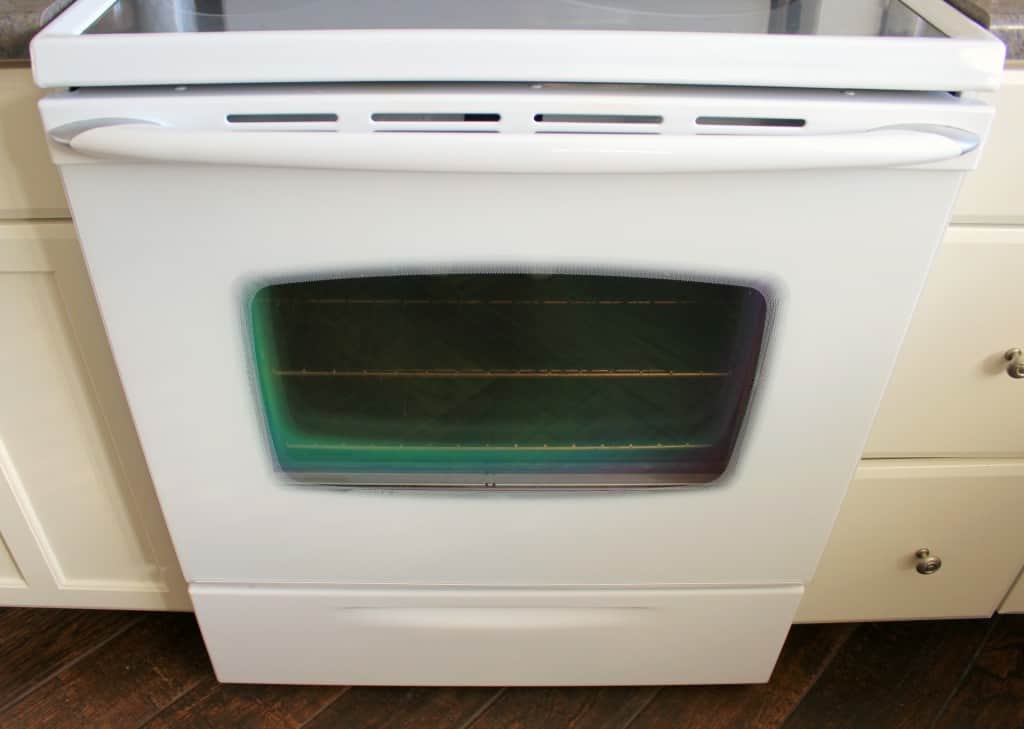
Suddenly your trashy looking oven is all clean and sparkly again, ready to wow your prospective home buyers, or at least your guests. At this point, it's probably a good idea to run a self-cleaning cycle, so it's truly clean inside and out.
Now that the kitchen's ready to go, next week we're moving on to baseboards! I know you're hooked now, so plan on coming back for that riveting tutorial…
ABOUT MEREDITH
Creating a color-filled life. Conquering my little world one DIY project at a time. With lots of coffee and chocolate. Albuquerque NM. Pinterest ~ Instagram ~ Facebook
How To Clean An Oven Door In Between The Glass
Source: https://thepalettemuse.com/how-to-clean-between-the-glass-door-of-your-maytag-oven/
Posted by: gibbsbeferal41.blogspot.com
0 Response to "How To Clean An Oven Door In Between The Glass"
Post a Comment